Introduction
Wall sconces are ideal for hallways, stairways, and any room that needs indirect accent lighting. Installing a wall sconce is similar to adding a new light fixture. The only difference is location and the type of fixture box used. As with ceiling lights, you can control as many lights as you want with one switch, or control one or more of them from two different locations by using three-way switches. See the sections on wiring switches and fixtures for the various options.
It's ideal if you can secure the fixture box to a framing member as well as the drywall or plaster. Use one of the standard retrofit boxes shown in Choosing Boxes, Related Projects.
|
1. Cut holes and run cable
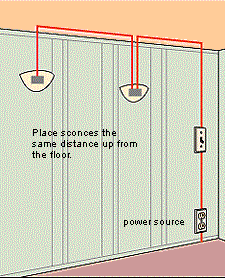
NOTE: Shut off the power. Find a junction box or a receptacle with power you can use. Cut a vertical hole for the switch box and horizontal holes for the sconce boxes (see Installing Boxes in Finished Space, Related Projects). Run cable from the power source to the switch and from the switch to the openings cut in the wall for the sconces (see Running Cable in Finished Space, Related Projects).
|
|
|
2. Wire the sconces
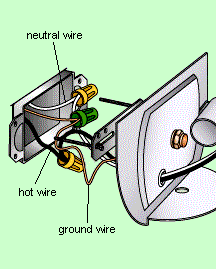
Fasten cable to the boxes, allowing an extra 8 inches of cable to protrude at each box. Attach the boxes to the walls. Strip the sheathing and the wire insulation, and make the electrical connections (see Connecting Wires, Related Projects). Note that wires travel both into and out of the first sconce fixture box. Wire the switch (see Wiring Ceiling Fixtures with Switches, Related Projects).
|
|
|
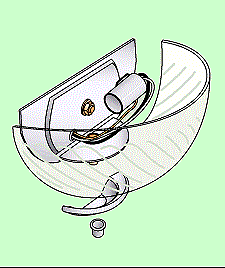
3. Install the sconces
Tuck the wires into the box, screw a mounting strap to the box, and attach the sconce to the mounting strap. Secure the switch and its cover plate, and test.
|
|